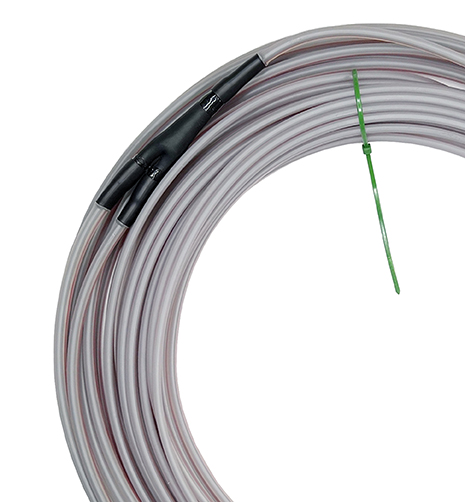
Preformed Loops and Installation Tools
Accurate and reliable vehicle detection solutions.
We have everything you need for your next loop installation.
Quality Products
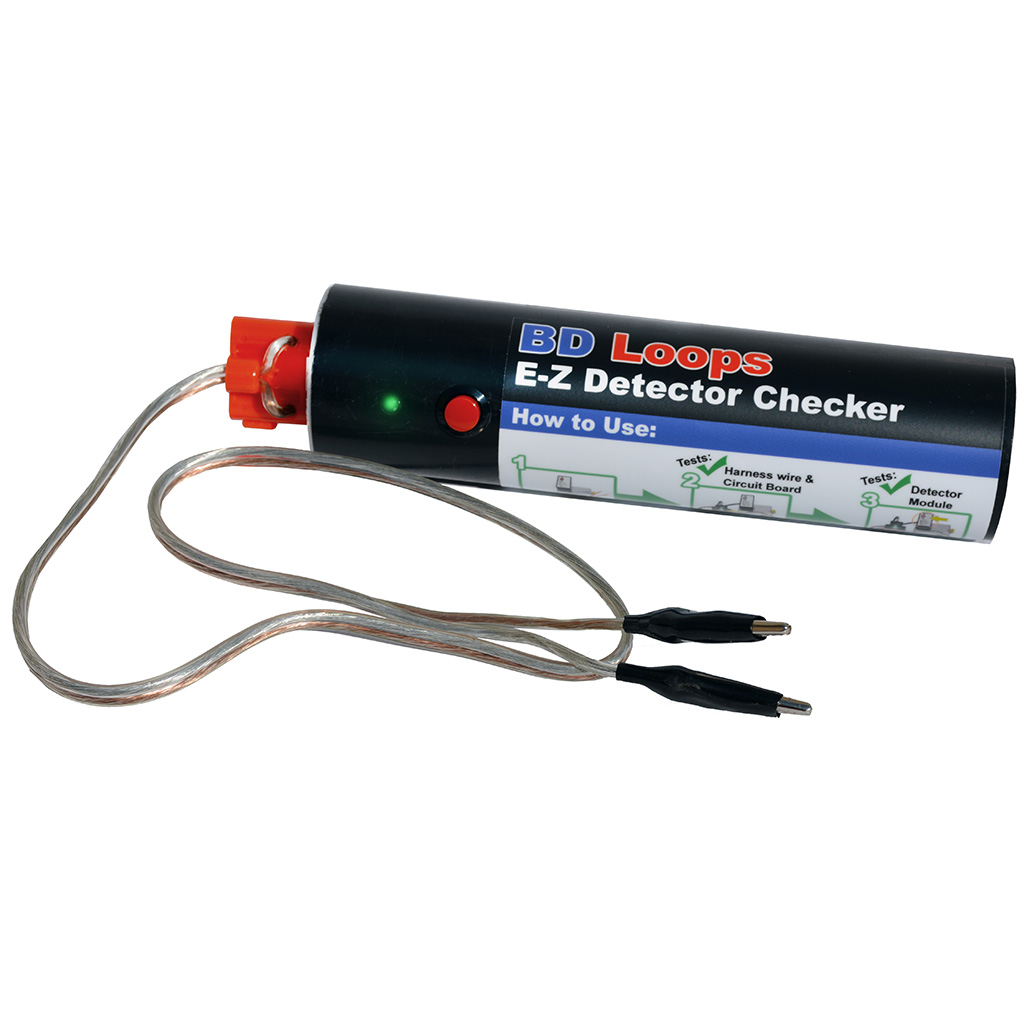
We take loops seriously.
Every BD Loop is tested 3 ways before it leaves our factory in Placentia, CA.
This is just one of the many reasons BD Loops has built a reputation for products that work.
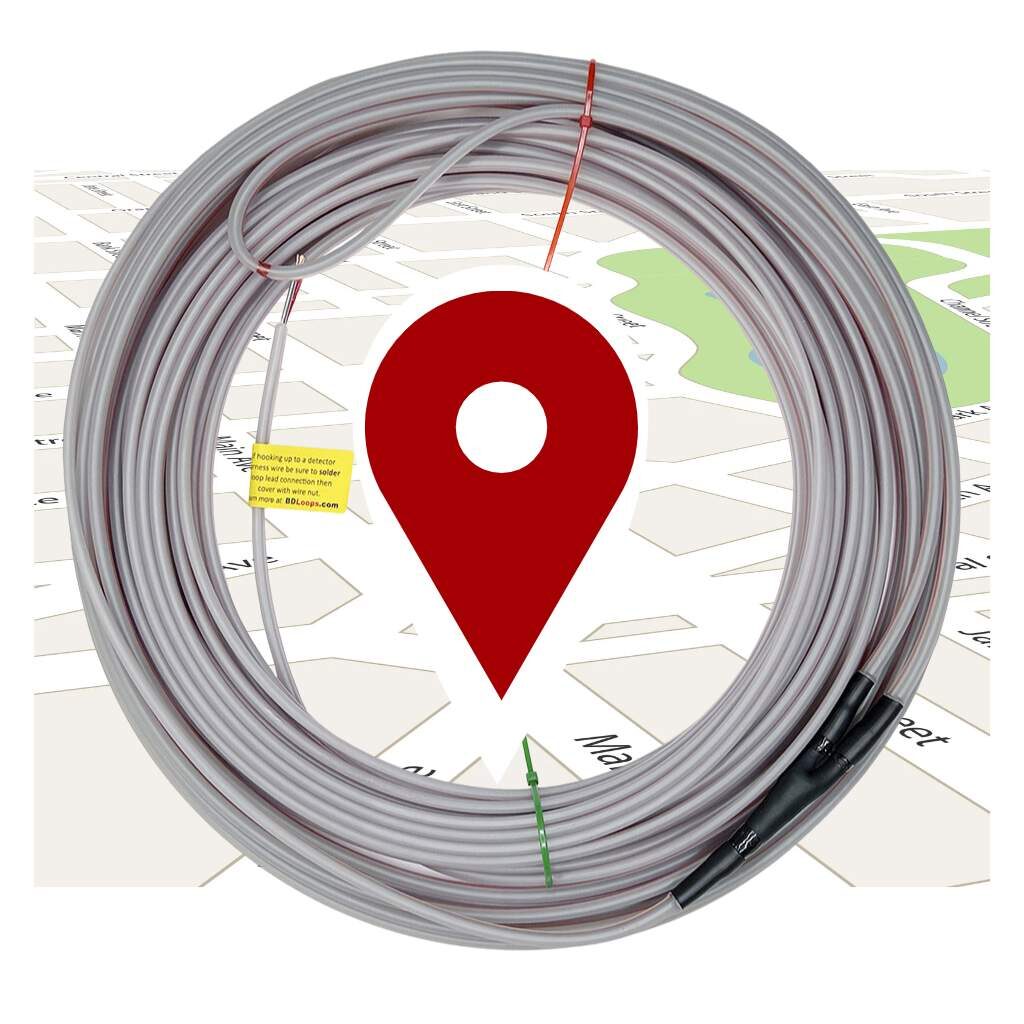
Where to buy BD Loops
View our Distributor Locator
BD Loops Products are available through over
600+ Distributors in the USA and Canada.
Got questions? we’ve got answers!
We’re passionate about education
Education articles, test results, tips, tricks, and more.
View our extensive library of information about everything loops!
A commitment to high quality products and service
We’re here when you need us most
We keep 200+ of each of our standard size loops in stock ready for same day shipping.
Same Day Shipping
If order is received by:
Standard Size Loops: 3:30 PM PST
Custom Size Loops: 12:00 PM PST
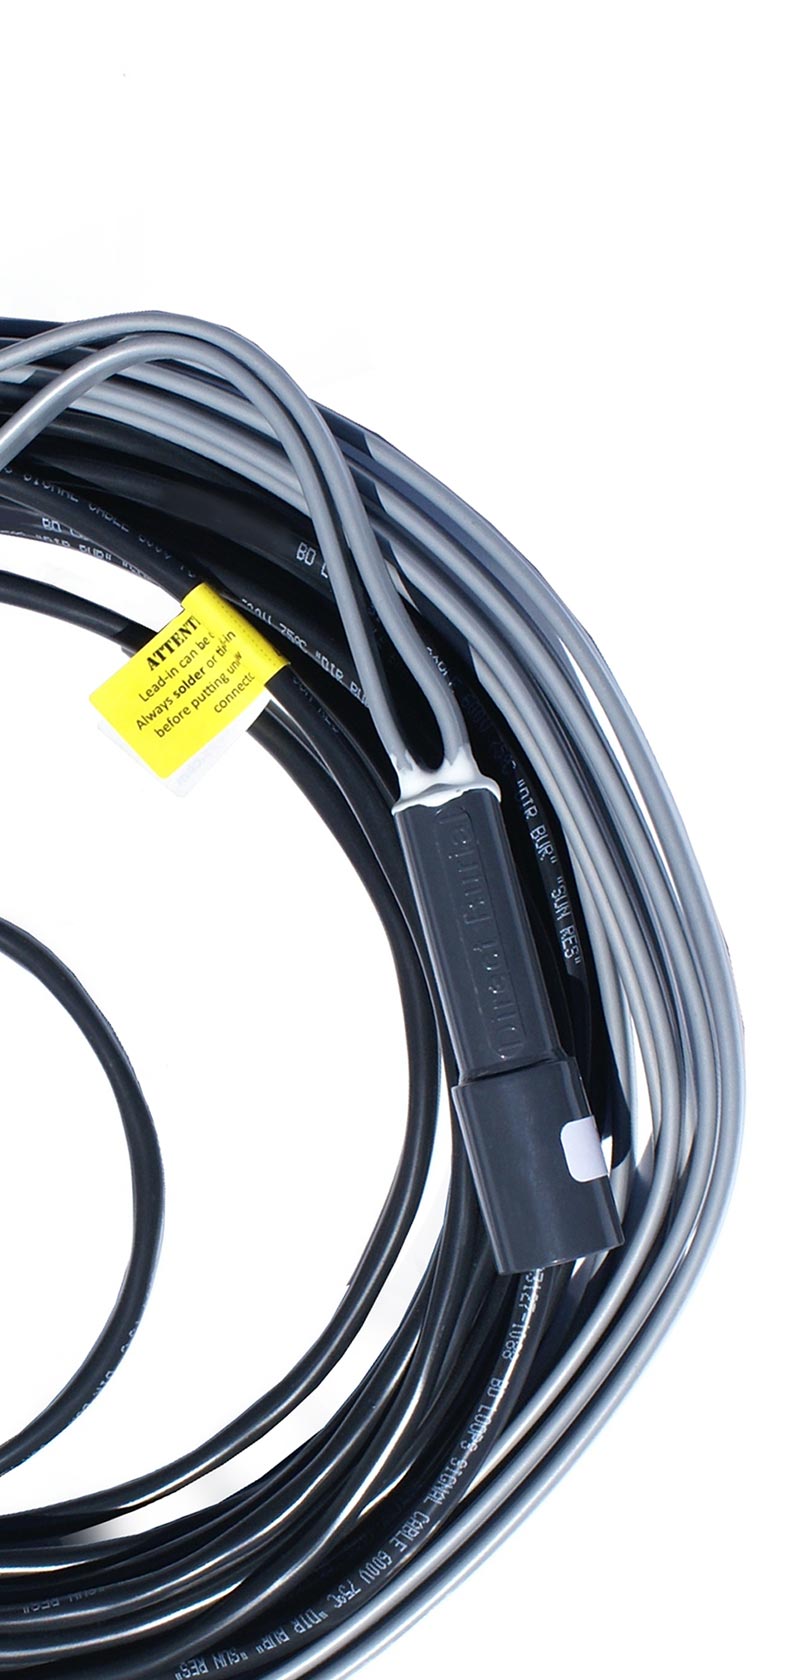
Quality You Can Count On
Each loop is tested 3 ways before it leaves our factory in Placentia, CA.
24/7 Tech Support
We’re here when
you need us most.
Questions?
Contact the Loop Experts!
BD Loops Proudly Supports: